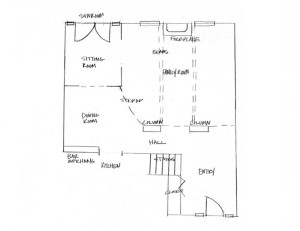
Step 1: Using a pencil and clean, white paper, sketch the layout of the room. If multiple connecting rooms are to be designed, please show how these rooms connect and measure on one sheet of paper. Make sure to label each room for reference. Do not worry about drawing the room to scale!
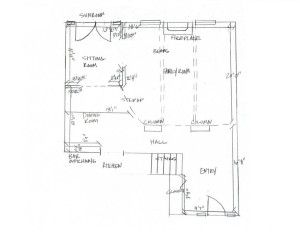 Step 2: Using a straight and sturdy tape measure, measure the entire length of each wall, corner-to-corner and mark this on the floor plan in feet and inches.
Step 3: Once the entire length of each wall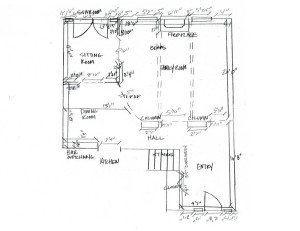 has been measured and recorded, measure each wall in detail.
• Start in the corner, measure the distance to the casing of the first window and mark on the drawing.
• Next, measure the width of the window (include casings) and mark on the drawing.
• Measure all items on length of wall. Items of importance to include: Doors, windows, built-ins,
fireplaces, etc…and mark on the drawing.
• Repeat steps for each wall in each room.
Step 4: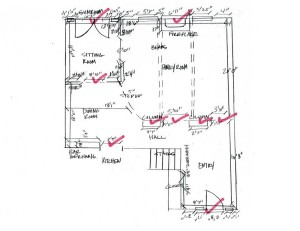 Once the measurements are complete, add up the detailed measurements on a calculator and make sure they add up to your measurement of the entire length of each wall. If the number is off by more than 5”, re-measure the length of the wall and details to correct the error.
Step 5: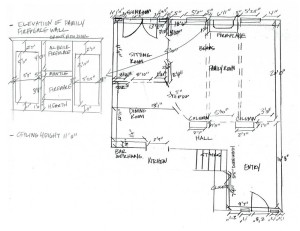 Include additional measurements and include elevation drawings as necessary:
• Window Height (s) only applicable if window coverings are needed
• Door Height (s) only applicable if window coverings are needed
• Fireplace (If Applicable): Hearth Length and Width
• Height of ceiling from lowest point to the floor
Step 6: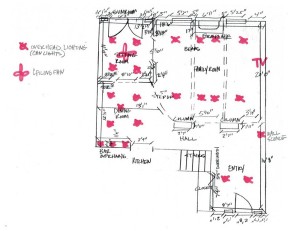 Notate all of the ceiling light fixtures and approximately indicate existing placement on your drawing. It is also important to include information per room i.e. include where the TV Jack is located if you intend to watch television in the room.
Step 7: Scan and E-mail your drawing to Urbane Design with all of the previous information included.
